
This guide is part of the MusaBase Virtualization series. For the complete overview, see the Linux Virtualization with QEMU/KVM guide.
You no longer have to choose between the familiarity of Windows and the sheer flexibility of Linux. By leveraging the Windows Subsystem for Linux (WSL2), you can run a native Linux kernel directly alongside your Windows applications, creating a high-performance hybrid environment that is perfect for modern development and devops workflows.
Hi all, welcome to MusaBase! If you are looking to bridge the gap between Windows and Linux for development or testing, you're in the right place. In this step-by-step guide, we will learn how to install and configure a Linux distribution on Windows 10/11 using WSL or WSL2.
This comprehensive guide is designed to help you set up a high-performance environment without the need for dual-booting. Specifically, we'll cover how to:
- Enable essential Windows features for WSL dependencies
- Install and update WSL to the latest version
- Configure WSL for optimal resource management
- Run native Linux apps directly on your Windows desktop
- Set up an X server for graphical application support
- Run a full Linux desktop environment side-by-side with Windows
By the end of this walkthrough, you'll be able to enjoy Linux services, a powerful Linux terminal, and the seamless ability to run your favorite open-source tools within your Windows workflow.
⚡ TL;DR: Install a Linux Distribution on Windows with WSL2
A quick reference for the essential commands to set up WSL2, install Ubuntu, and optionally run a full desktop environment using either an X Server or Remote Desktop.
-
Enable required Windows features:
dism.exe /online /enable-feature /featurename:Microsoft-Windows-Subsystem-Linux /all /norestart dism.exe /online /enable-feature /featurename:VirtualMachinePlatform /all /norestart -
Install WSL2 and Ubuntu with one command:
wsl --install -
Launch Linux and create your user:
Follow the prompts to set a username and password.wsl -
GUI with X Server (VcXsrv + GNOME):
# Download and install VcXsrv from https://sourceforge.net/projects/vcxsrv/ # Then in Ubuntu terminal: sudo apt update && sudo apt-mark hold acpid && sudo apt upgrade -y sudo apt install ubuntu-desktop gnome -y # Enable systemd in /etc/wsl.conf: echo -e "[boot]\nsystemd=true" | sudo tee /etc/wsl.conf # Exit WSL, then in PowerShell: wsl --shutdown wsl --update # Reopen Ubuntu, add env vars to ~/.bashrc: cat >> ~/.bashrc << 'EOF' export DISPLAY="$(ip route | awk '{print $3; exit}')":0 export XDG_CONFIG_HOME=$HOME/.config export XDG_CONFIG_DIRS=/etc/xdg/xdg-ubuntu:/etc/xdg export XDG_SESSION_DESKTOP=ubuntu export XDG_SESSION_TYPE=x11 export XDG_CURRENT_DESKTOP=ubuntu:GNOME export XDG_DATA_DIRS=/usr/share/ubuntu:/usr/local/share/:/var/lib/snapd/desktop export GNOME_SHELL_SESSION_MODE=ubuntu export XDG_RUNTIME_DIR="/run/user/1000" EOF source ~/.bashrc # Create runtime directory: sudo mkdir -p /run/user/1000 && sudo chmod 700 /run/user/1000 && sudo chown $(whoami): /run/user/1000 # Launch VcXsrv with -dpms, then start GNOME: dbus-launch --exit-with-session gnome-session -
GUI with RDP (xrdp + any desktop):
sudo apt update && sudo apt upgrade -y
sudo apt install tasksel xrdp -y
sudo tasksel   # choose a desktop environment, e.g. KDE Plasma
ip a           # note the eth0 IPv4 address
# Connect from Windows Remote Desktop using that IP and your Linux credentials
💡 After installation, you can always start your Linux distribution from the Start menu, Windows Terminal, or by typing wsl in a command prompt. For GUI, repeat the last steps of your chosen method after every WSL restart.
What is WSL/WSL2?
WSL, short for Windows Subsystem for Linux, allows us to run a Linux distribution alongside Windows without a resource-heavy VM. WSL1 uses a compatibility layer to translate Linux system calls to Windows, while WSL2 boosts performance and compatibility by using a real Linux kernel inside a lightweight VM. WSL2 is available on Windows 10 (version 2004, build 19041 or later) and Windows 11. Installing on Windows 11 is nearly identical and benefits from tighter OS integration.
| Feature | WSL1 | WSL2 |
|---|---|---|
| Architecture | Translation layer | Lightweight VM |
| Performance | Good for file operations | Better overall |
| Compatibility | Limited | Full Linux kernel |
- No dual-booting required: Switch between Windows and Linux instantly
- Resource efficient: Uses minimal RAM compared to traditional VMs
- Seamless integration: Access Windows files from Linux and vice versa
- GPU support: WSL2 supports CUDA, Docker, and GPU acceleration
Note: This guide focuses on WSL2 as it's the current standard with full Linux kernel support and better performance.
Prerequisites
- Processor: Intel or AMD 64-bit compatible processor. It must support virtualization technology (Intel VT-x or AMD-V), which should be enabled in your BIOS/UEFI settings.
- RAM: 8GB to 32GB is recommended. While WSL2 can run on less, more RAM significantly improves performance when running multiple Linux services.
- Storage: Approximately 5GB for the WSL2 base, plus additional space for each Linux distribution you install. Using an SSD is highly recommended for faster disk I/O.
- Windows Version:
- Administrator Rights: You need administrator privileges to install WSL and enable Windows features.
- Windows 10: Version 2004 (Build 19041 or later) for WSL2 support. You can check your version by typing winver in the Windows search bar.
- Windows 11: All versions are fully compatible with WSL2 out of the box.
Virtualization Check: Press Ctrl + Shift + Esc to open Task Manager, go to Performance tab, and check if Virtualization is enabled under CPU.
Step 1: Enable Windows Features for WSL & WSL2
WSL requires two Windows features on Windows 10/11:
- Windows Subsystem for Linux
- Virtual Machine Platform
We can enable these two features either through:
- GUI (Graphical)
- PowerShell (Admin)
1.1. Enable via GUI
- Press the Windows key or open Start menu and type "Turn Windows features on or off" and open it.


- In the Windows Features dialog, check:
- Virtual Machine Platform
- Windows Subsystem for Linux


1.2. Enable via PowerShell (Admin)
- Press the Windows key or open Start menu, type PowerShell in the search box, then right-click and select Run as Administrator.
- In the elevated console, run:
dism.exe /online /enable-feature /featurename:Microsoft-Windows-Subsystem-Linux /all /norestart
dism.exe /online /enable-feature /featurename:VirtualMachinePlatform /all /norestart


Once the features are enabled (via GUI or PowerShell), restart your PC to complete the installation.
Step 2: Install WSL and WSL2 on Windows 10/11
If you're running a supported Windows 10 build (2004, Build 19041 or later) or Windows 11, Microsoft provides a single command to install WSL end-to-end.
- Open PowerShell as an administrator.
- Run the command:
wsl --install
- After the installation finishes, restart your PC to apply all changes.
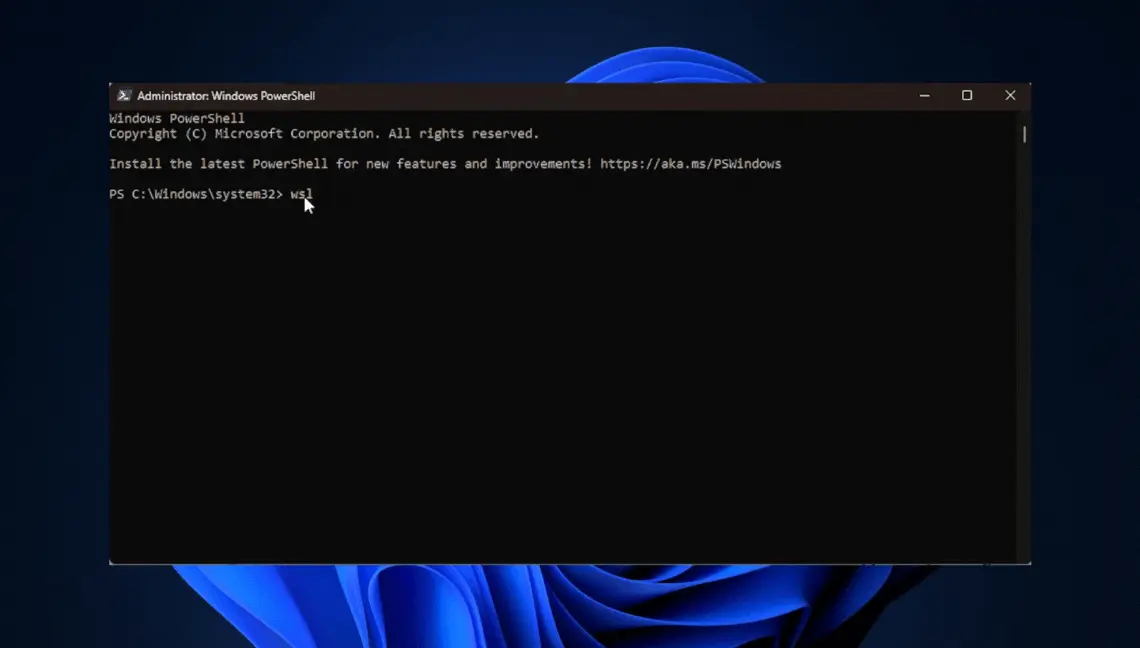
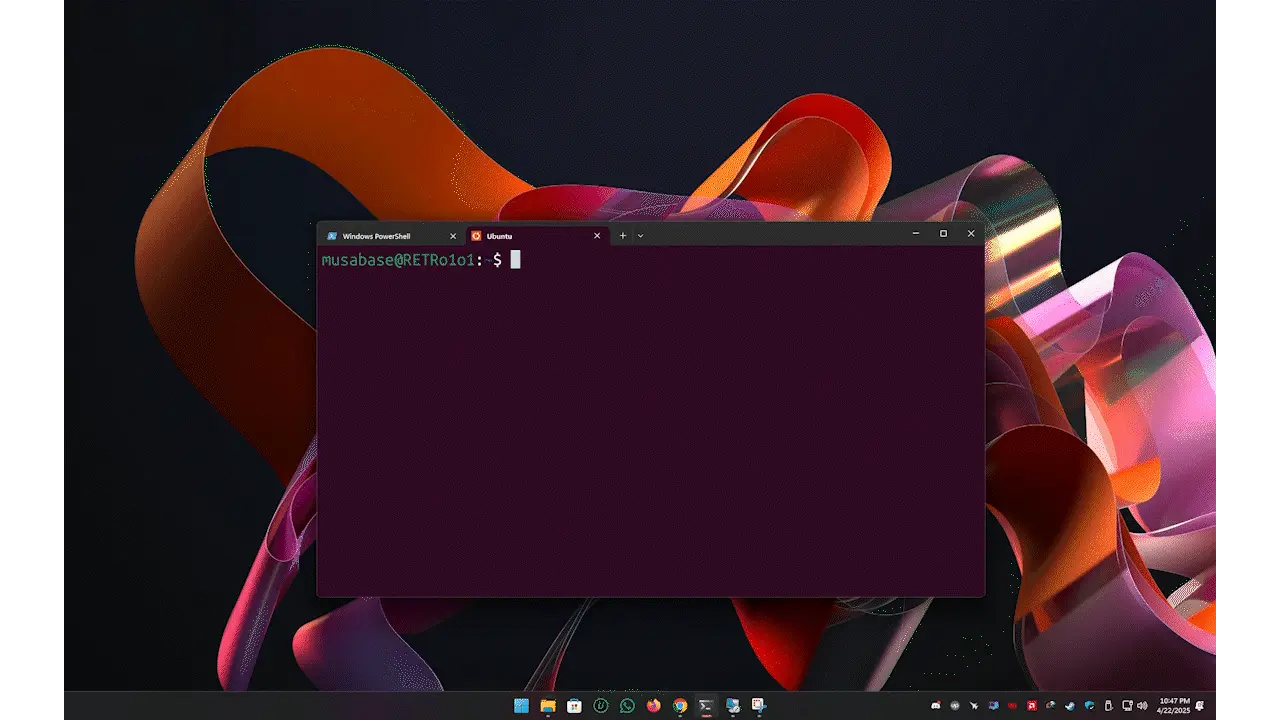
Step 3: Launch Linux Shell with WSL/WSL2
With the minimal Ubuntu installation complete, let's launch our new Linux environment.
- Open PowerShell as an administrator.
- Run the command:
wsl - After running the command, the WSL system will ask you to set a username and password. Enter these, and it will log you into your Ubuntu Linux system.


Launch from Start Menu
- From Start Menu: Search for "Ubuntu"
- From Windows Terminal: Available in Microsoft Store
- Command Prompt: Just type
wsl
Now, we can launch any Linux application in Windows via the WSL terminal or from the Start menu. Any application we install in Ubuntu will appear there, ready to launch with a single click.
A simple demonstration:
I'm going to run Krita, a powerful digital painting application originally designed for Linux.
Keep in mind this is a bare-minimum Linux system, which initially provides only a command-line interface (CLI).
Step 4: Implementing GUI for WSL
Now, even though WSL (and WSL2) lets us run Linux and its apps on Windows, it's fundamentally designed as a command-line interface. That means we can only interact via commands. However, we can still install and run a full Linux desktop environment (for this guide, "Ubuntu") using one of two methods:
4.1: X Server Method
X Server (Xorg) is a display server that provides a graphical interface for Linux applications. It bridges hardware and graphics software, letting GUI apps render on our Windows screen and accept keyboard/mouse input.
4.1.1. Download X-Server
- Download VcXsrv (X Server for Windows) from the SourceForge link.
- Install it.
- URL for VcXsrv:
https://sourceforge.net/projects/vcxsrv/
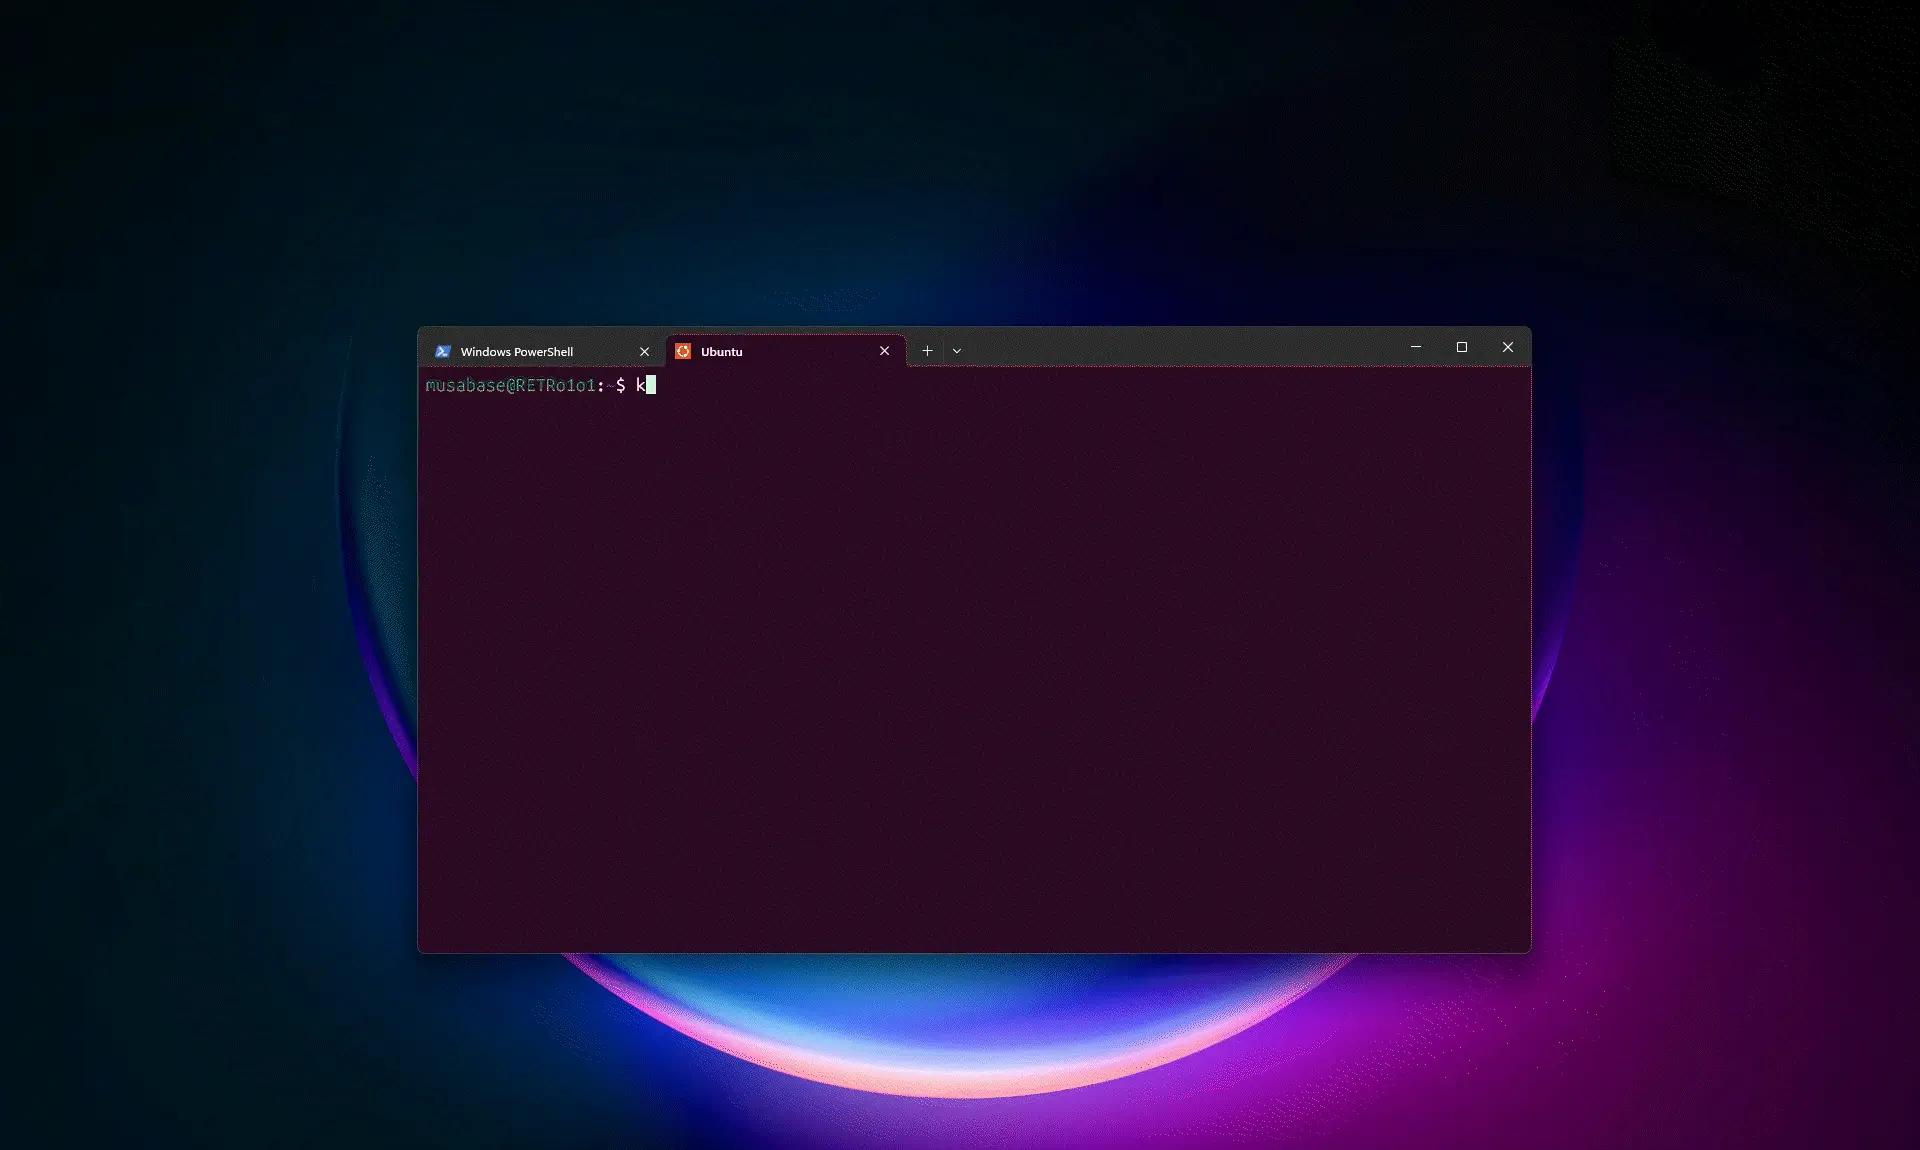
Now that Ubuntu is installed under WSL, open the Ubuntu terminal from the Start menu by typing "Terminal" in the search box.
- By default, we'll get PowerShell. We can switch to Ubuntu by selecting it from the dropdown menu in the terminal's top left corner.


4.1.2. Update, Hold and Upgrade Packages
- In the Ubuntu terminal, run these commands consecutively:
sudo apt update
sudo apt-mark hold acpid
sudo apt upgrade -y
4.1.3. Install GNOME Desktop Environment on Ubuntu (WSL)
- In the terminal, run:
sudo apt install ubuntu-desktop gnome

Note: If you already have systemd enabled (systemd=true) in your /etc/wsl.conf file, then skip the next two steps (4.1.4 and 4.1.5).
4.1.4. Enable Systemd
Ensure systemd is enabled (systemd=true) in the wsl.conf file.
- In the Ubuntu terminal, run:
sudo nano /etc/wsl.conf - If the line systemd=true isn't present, add it under the [boot] section. Then press Ctrl + O to save and Ctrl + X to exit.
- Please see the images below for clarification:


![Adding systemd=true under the [boot] section in the wsl.conf file on WSL.](https://blogger.googleusercontent.com/img/b/R29vZ2xl/AVvXsEjzIwseOy8qgoZG_eKnTUMpj_-nnTzGjQWnbldXobxpVdYouD7O_-SF6dFaC2s4UL-TNXqGYlLPME0AoeReM0bPMOdhhyphenhyphenlOxVrWGAoG9slBhWScbfH30VhTubXAC25O39gClK92uDD4buVVSZjIjd5tGOQ2d7ipUa3hTWOjrRjwIlDuwKW3TQ_bb0qx3A8/s1600/sudonanoetcwsldotconf.png)
4.1.5. Update WSL
- In the Ubuntu terminal, type exit to close the WSL session.
- In Windows PowerShell, run these two commands consecutively:
wsl --shutdown
wsl --update

4.1.6. Define Environment Variables
- Reopen the Ubuntu terminal.
- Next, run:
sudo nano ~/.bashrc - In the bashrc file, navigate to the bottom with the down arrow key and add the environment variables below. Then press Ctrl + O to save and Ctrl + X to exit:
export DISPLAY="$(ip route | awk '{print $3; exit}')":0
export XDG_CONFIG_HOME=$HOME/.config
export XDG_CONFIG_DIRS=/etc/xdg/xdg-ubuntu:/etc/xdg
export XDG_SESSION_DESKTOP=ubuntu
export XDG_SESSION_TYPE=x11
export XDG_CURRENT_DESKTOP=ubuntu:GNOME
export XDG_DATA_DIRS=/usr/share/ubuntu:/usr/local/share/:/var/lib/snapd/desktop
export GNOME_SHELL_SESSION_MODE=ubuntu
export XDG_RUNTIME_DIR="/run/user/1000"
Export Options:
- Next, in the terminal run these commands consecutively:
sudo mkdir -p /run/user/1000
sudo chmod 700 /run/user/1000
sudo chown $(whoami): /run/user/1000


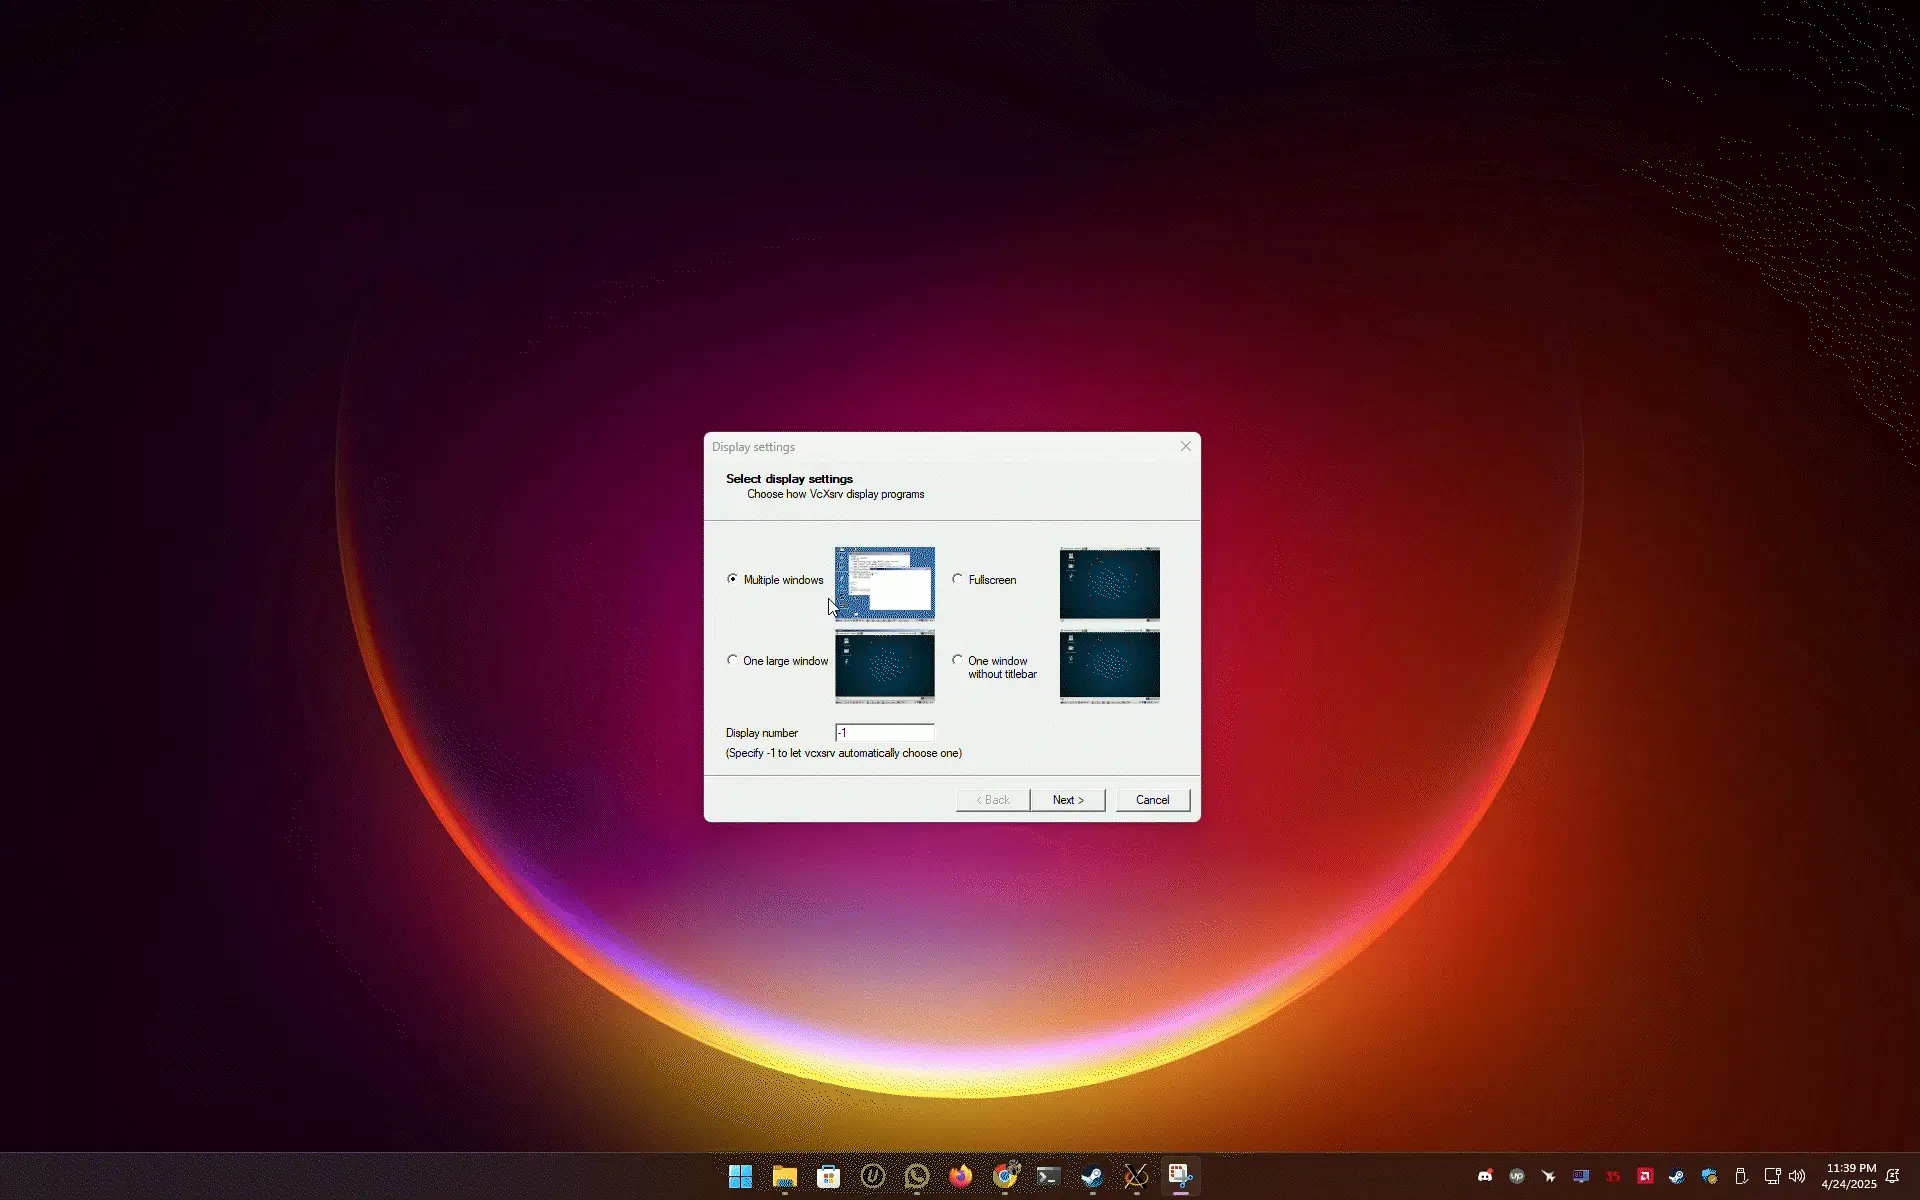
4.1.7. Launch X-Server
Now launch VcXsrv (X Server) that we installed earlier.
- Open the Start menu, type xlaunch, and run the application.
- On the "Select display settings" screen, choose "One large window" or "Fullscreen" based on your needs and click Next.
- On the "Select how to start clients" screen, choose "Start no client" and click Next.
- On the "Extra settings" screen, tick all checkboxes and add the following parameter in the Additional parameters for VcXsrv field at the bottom, then click Next:
-dpms
- On the final screen, click Finish. VcXsrv will start, but you might see a black window until we launch our desktop session.

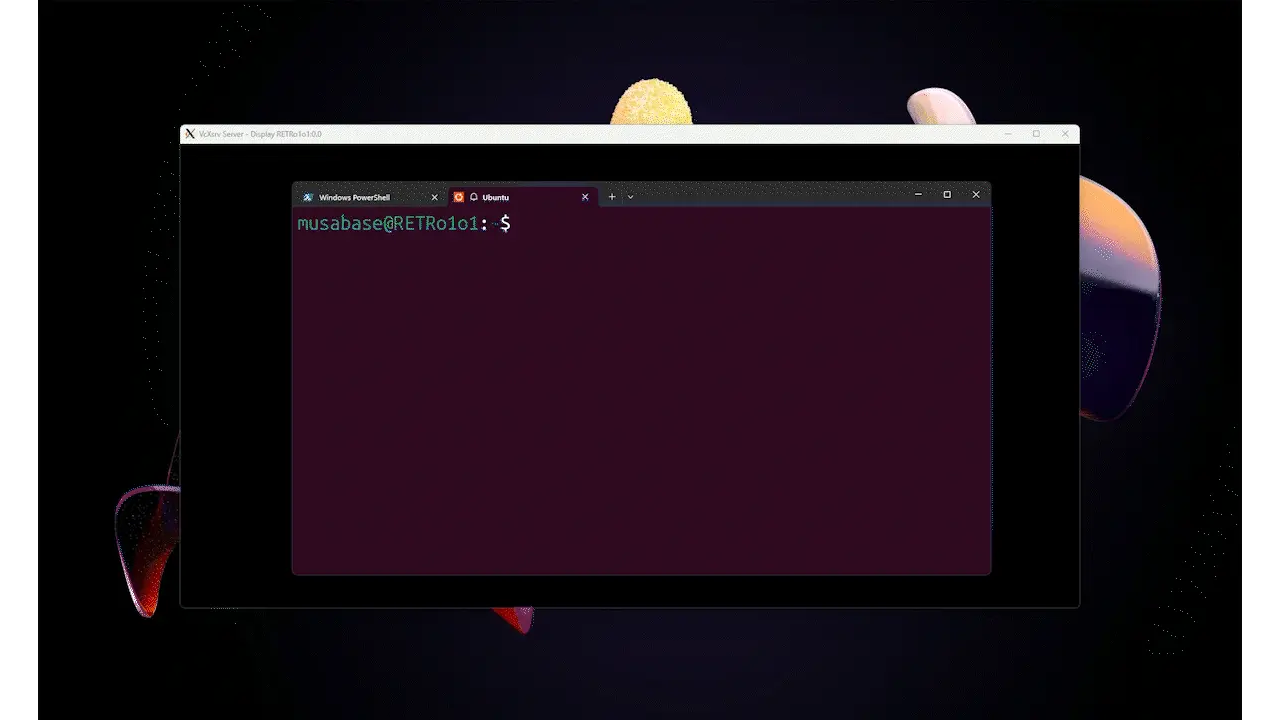
4.1.8. Launch Desktop Environment
- Switch back to the Ubuntu terminal in WSL.
- Run the following command:
dbus-launch --exit-with-session gnome-session
4.2: Remote Desktop Protocol (RDP) Method
This method is simpler to implement. With RDP, we can use any supported desktop environment without extra configuration.
4.2.1. Install Tasksel and XRDP
Tasksel is a tool that installs related groups of packages in one go, similar to APT metapackages. It offers a simple interface for tasks like setting up a desktop environment or web server stack. Meanwhile, xrdp is an open-source implementation of the Microsoft Remote Desktop Protocol server. It allows users to connect to a Linux system from another Linux machine or a Windows device using RDP clients like the Microsoft Remote Desktop Client.
- First, update your distro by running sudo apt update && sudo apt upgrade.
- Then install tasksel and xrdp:
sudo apt install tasksel xrdp

4.2.2. Install a Desktop Environment
- In the Ubuntu terminal, run the following command to launch the Tasksel interface:
sudo tasksel - This command will open the following interface, from where we can install any Desktop Environment or Web Server stack.
- Use the keyboard's Up () and Down () arrow keys to navigate through the several options.
- Press the Space key to select the Desktop Environment you want.
- Press Tab to go to the bottom's options section, choose OK to confirm the download, and press Enter to continue.

4.2.3. Launch Ubuntu Desktop Environment with RDP
- In the terminal, run the following command to get the IP address for RDP:
ip a - This command will list network interfaces and their IP addresses.
- Note the eth0: interface's IPv4 address and copy it.
- Open the Start menu and search for RDP or Remote Desktop Connection in the search box, then open it.
- In the RDP window, paste the IP address that you just copied and click Connect.
- If all goes well, you'll see a login prompt where you can enter the username and password that you created for Ubuntu under WSL.
Frequently Asked Questions: WSL & WSL2 on Windows
What is WSL and how is WSL2 different from WSL1?
WSL (Windows Subsystem for Linux) allows you to run Linux distributions directly on Windows without a virtual machine. WSL1 uses a translation layer to convert Linux system calls into Windows system calls. WSL2 uses a lightweight virtual machine with a real Linux kernel, offering better performance, full system call compatibility, and support for features like Docker and GPU acceleration. WSL2 is the recommended version for modern development workflows.
What are the prerequisites for installing WSL2?
You need:
- A 64‑bit Intel or AMD processor with virtualization (VT‑x or AMD‑V) enabled in BIOS/UEFI.
- At least 4GB RAM (8GB+ recommended).
- Windows 10 version 2004 (build 19041) or later, or any version of Windows 11.
- Administrator privileges to enable Windows features.
- Virtualization enabled in Task Manager (check under Performance → CPU).
How do I enable the required Windows features for WSL?
You can enable them via GUI or PowerShell:
- GUI: Search for Turn Windows features on or off, check Virtual Machine Platform and Windows Subsystem for Linux, then click OK and restart.
- PowerShell (Admin): Run these commands:
dism.exe /online /enable-feature /featurename:Microsoft-Windows-Subsystem-Linux /all /norestart
dism.exe /online /enable-feature /featurename:VirtualMachinePlatform /all /norestart
Then restart your PC.
How do I install WSL2 and a Linux distribution?
Open PowerShell as Administrator and run:
wsl --install
This command automatically enables required components, downloads the latest Linux kernel, sets WSL2 as default, and installs Ubuntu (the default distribution). After installation, restart your PC.
How do I launch my Linux distribution after installation?
You can launch it in several ways:
- Type wsl in PowerShell or Command Prompt.
- Search for Ubuntu (or your installed distro) in the Start Menu.
- Open Windows Terminal and select your distribution from the dropdown menu.
On the first launch, you will be prompted to create a username and password. This password is for Linux and can be different from your Windows password.
What is the difference between the X Server method and the RDP method for GUI?
The X Server method (using VcXsrv) runs a single desktop session inside the WSL terminal window. It is lighter but may have occasional rendering issues. The RDP method (using xrdp) lets you connect to a full desktop environment via the built‑in Windows Remote Desktop client. It provides a more complete desktop experience but uses slightly more resources. Both methods work well; choose based on your preference.
How do I install VcXsrv X Server for the X Server method?
Download VcXsrv from SourceForge. Install it like any Windows application. After installation, you will use xlaunch to configure and start the X Server before launching your Linux desktop.
Why do I need to mark acpid on hold in Ubuntu?
acpid (ACPI Event Daemon) handles power events on real hardware, but WSL2 does not support ACPI. If acpid is installed or upgraded, it will try to access ACPI sockets, causing errors that can crash your session. Running:
sudo apt-mark hold acpid
prevents it from being installed or updated, ensuring a stable desktop environment.
How do I enable systemd in WSL2?
Edit or create /etc/wsl.conf with:
sudo nano /etc/wsl.conf
Add the following lines:
[boot]
systemd=true
Save the file, then in Windows PowerShell run:
wsl --shutdown
wsl --update
Restart your WSL session.
What environment variables do I need to set for the X Server method?
Add these lines to your ~/.bashrc file:
export DISPLAY="$(ip route | awk '{print $3; exit}')":0
export XDG_CONFIG_HOME=$HOME/.config
export XDG_CONFIG_DIRS=/etc/xdg/xdg-ubuntu:/etc/xdg
export XDG_SESSION_DESKTOP=ubuntu
export XDG_SESSION_TYPE=x11
export XDG_CURRENT_DESKTOP=ubuntu:GNOME
export XDG_DATA_DIRS=/usr/share/ubuntu:/usr/local/share/:/var/lib/snapd/desktop
export GNOME_SHELL_SESSION_MODE=ubuntu
export XDG_RUNTIME_DIR="/run/user/1000"
After adding them, run source ~/.bashrc to apply.
How do I create the XDG runtime directory?
Run these commands in your WSL terminal:
sudo mkdir -p /run/user/1000
sudo chmod 700 /run/user/1000
sudo chown $(whoami): /run/user/1000
This directory is needed for D‑Bus sockets and other runtime files.
How do I launch the GNOME desktop with the X Server method?
First, start VcXsrv (xlaunch) with the settings: One large window, Start no client, and add the -dpms parameter. Then, in your WSL terminal, run:
dbus-launch --exit-with-session gnome-session
The GNOME desktop should appear in the X Server window.
What is tasksel and how do I use it?
tasksel is a Debian/Ubuntu tool that installs groups of related packages (like desktop environments) with a single command. Install it with:
sudo apt install tasksel
Then run sudo tasksel to open a text‑based interface where you can select a desktop environment (e.g., KDE Plasma) and press Space to install it.
How do I connect to my Ubuntu desktop using RDP?
First, install xrdp with:
sudo apt install xrdp
Then, find your WSL IP address by running ip a and noting the IPv4 address under eth0. Open the Remote Desktop Connection app on Windows, enter that IP address, and click Connect. Log in with your WSL username and password.
What are the most common mistakes when setting up WSL2 GUI?
- Forgetting to enable virtualization in BIOS/UEFI.
- Not enabling the required Windows features (Virtual Machine Platform, WSL).
- Running wsl --install without administrator privileges.
- Not marking acpid on hold, causing session crashes.
- Forgetting to set environment variables or the XDG runtime directory for the X Server method.
- Not adding the -dpms parameter in VcXsrv, leading to display issues.
- Using the wrong IP address for RDP (use the eth0 IP).
🎉 Congratulations, your WSL2 environment is ready!
WSL is an incredible tool for command-line tasks and development workflows. However, if you find the GUI performance sluggish for heavy graphical applications, you might want to explore more robust virtualization or native options.
Keep experimenting and building your perfect development environment. If this walkthrough helped you, don't forget to subscribe.
101 out, I’ll see you in the next one! 🚀